Python projects with Poetry and VSCode Part 2
In the first article we learned what the pyproject.toml file is and how to work with it, used Poetry to start a new project, create a Virtual Environment and to add and remove dependencies. All of that with the following commands:
| Command | Description |
|---|---|
poetry new [package-name] | Start a new Python Project. |
poetry init | Create a pyproject.toml file interactively. |
poetry install | Install the packages inside the pyproject.toml file. |
poetry add [package-name] | Add a package to a Virtual Environment. |
poetry add -D [package-name] | Add a dev package to a Virtual Environment. |
poetry remove [package-name] | Remove a package from a Virtual Environment. |
poetry remove -D [package-name] | Remove a dev package from a Virtual Environment. |
In this second part, we’ll:
- Add our virtual Environment to VSCode.
- Update our dependencies.
- Integrate our dev dependencies with the editor:
- Flake8
- Black
- Pytest
And in a third article we will write a sample library, build our project with Poetry and publish it on PyPI.
Before we start, make sure you have installed VSCode, added the Python extension and that you have followed and understood the first article of this series.
Setting up Poetry on VSCode
A few days have passed since the first part, so it may be a good idea to check for new versions of our dependencies. Open your terminal, navigate inside your project directory and type the poetry update command:

Until now, there are no new versions available.
When you create a Virtual Environment with the venv command, VSCode will automatically set it as the default Python Environment for that project. When working With Poetry, the first time we will need to type the following in the terminal and inside the project folder:
$ poetry shell
$ code .
The first command, poetry shell, will spawn us inside our virtual environment, and code . will open the current folder inside VSCode.

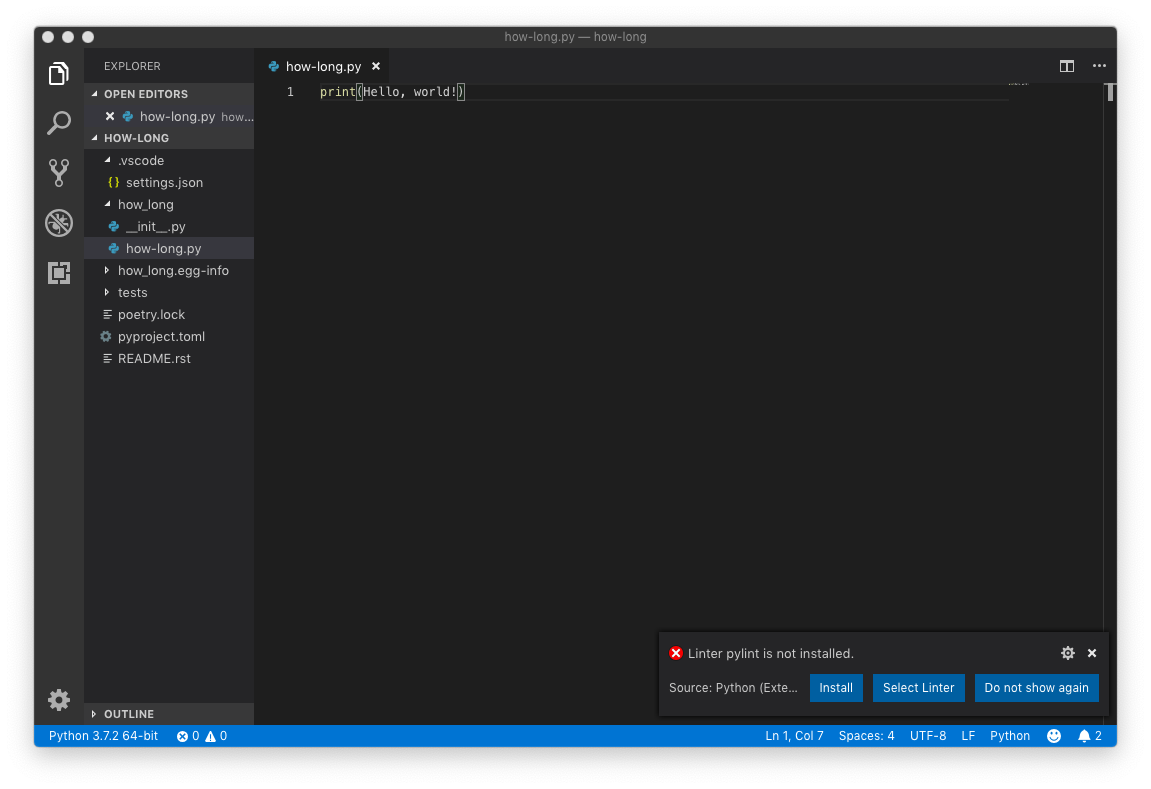
Open the how-long folder (or the one with your project name) using the left panel and alongside to __init__.py, create a how-long.py file. In the bottom-left corner, you’ll see the current Python Environment:

Click it and a list of available Environments will display. Choose the one that has the name of your project in it:

Now, let’s integrate our dev dependencies, Flake8, Black, and Pytest into Visual Studio Code.
Flake8
Flake8 will provide our projects with linting capabilities. In other words, warning of syntax and style errors, and thanks to VSCode, we will know them as we type.
By default, the Python extension comes with Pylint enabled, which is powerful but complex to configure. To switch to Flake8 make a change to any Python file and save it, in the bottom-right corner a popup message will show:

Click on Select Linter and choose Flake8 from the list. Now, VSCode will tell us our syntax and style problems, in green or red depending on its severity, always with a nice description of what is wrong:

Seems like we have two problems: we are missing a blank line at the end of our file (style) and forgot to add quotes to our Hello, World! string (syntax). Fix them and see all warnings disappear.
Black
Black is a code formatter, a tool that will look at our code and automatically format it in compliance with the PEP 8 style guide, the same PEP that uses Flake8 to lint our style errors.
Hold shift + cmd/ctrl + p to open the Command Palette, type Format Document, and press enter. A new popup message will appear:

Select Use Black. Now copy this poorly formatted code into your python file:
for i in range(5):         # this comment has too many spaces
      print(i)  # this line has 6 space indentation.
What an ugly piece of s***… code. Try formatting it again and see how Black fixes all of them for you!
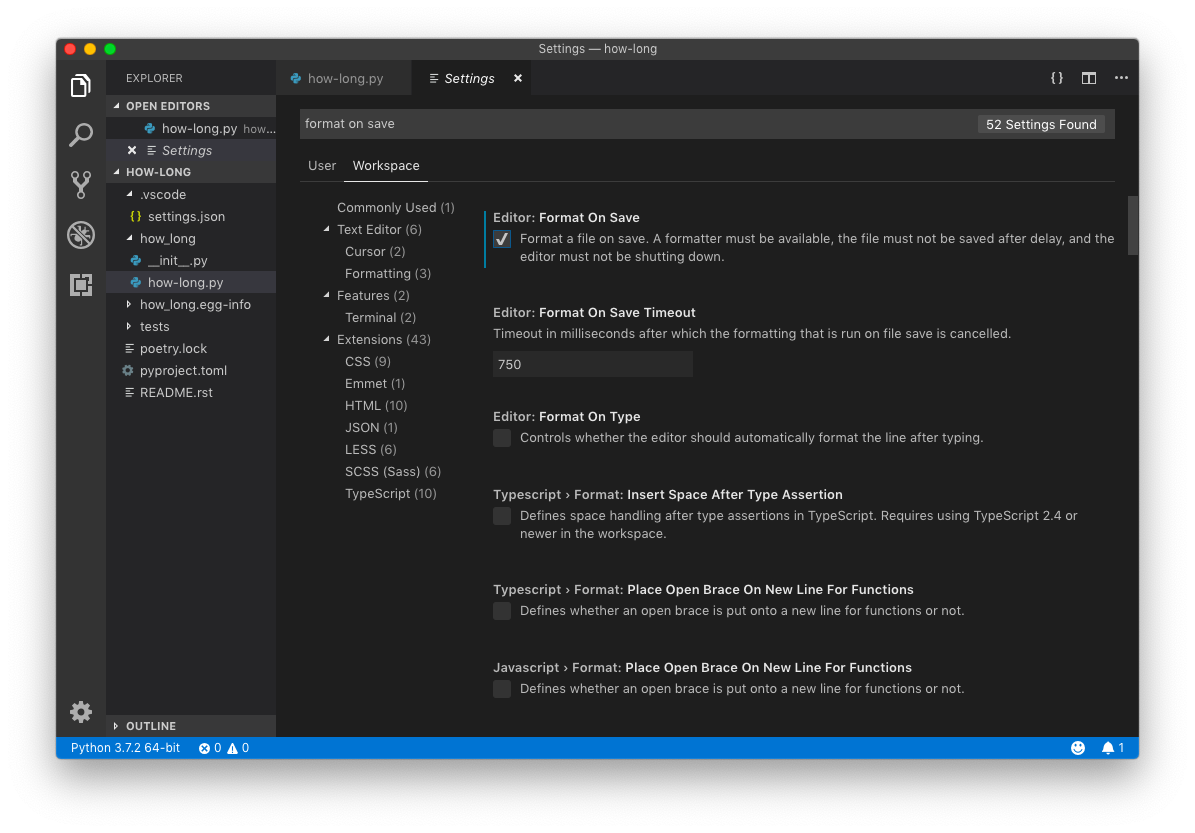
Another thing we can do is configure VSCode so that every time we save, Black will automatically format our code. Hold cmd/ctrl + , to open the Settings. Make sure you are in the Workspace Settings, search for Format On Save and activate the checkbox:

Lastly, Black defaults to 88 characters per line in contrast with the 80 allowed by Flake8, so to avoid conflicts, open the .vscode folder and add the following at the end of the settings.json file:
{
    ...
    "python.linting.flake8Args": [
        "--max-line-length=88"
    ],
}

Pytest
If you are serious about programming, it is crucial for you to learn how to test your projects. It’s an incredibly useful skill that allows you to write and deliver programs with confidence by reducing the possibility of catastrophic bugs appearing after shipping.
Pytest is a very popular and user-friendly framework for writing tests. We already installed it, so we will also integrate it with VSCode.
Open the tests folder and select the test_how_long.py file. Poetry already gives us our first test:
# test_how_long.py
from how_long import __version__


def test_version():
    assert __version__ == '0.1.0'
In this test, we import the __version__ variable from the __init__.py file that is inside the how_long folder and asserts that the current version is 0.1.0. Open the integrated terminal by going to Terminal > New Terminal and type:
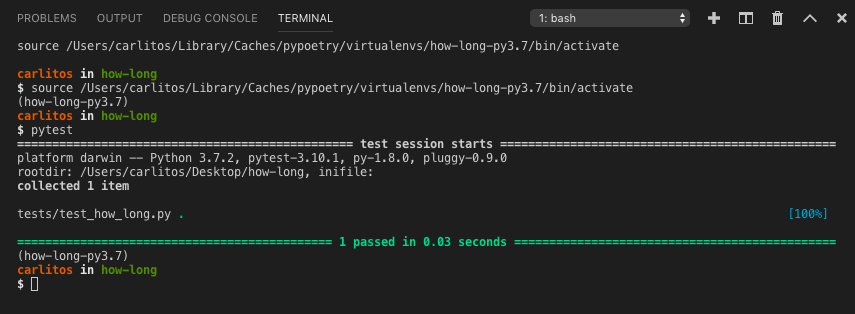
$ pytest
The Output will look like this:

Ok, everything is fine. Open your Command Palette with shift + cmd/ctrl + p:
- Write unit and select Python: Configure Unit Tests.
- Select pytest.
- Choose the directory in which you saved the tests, tests in our case.
Three things happened:
A new button appeared at the status bar: Run Tests. This is the same as typing pytest in the terminal. Press it and select Run All Unit Tests. When finished, it will inform you the number of tests that passed and the tests that not:

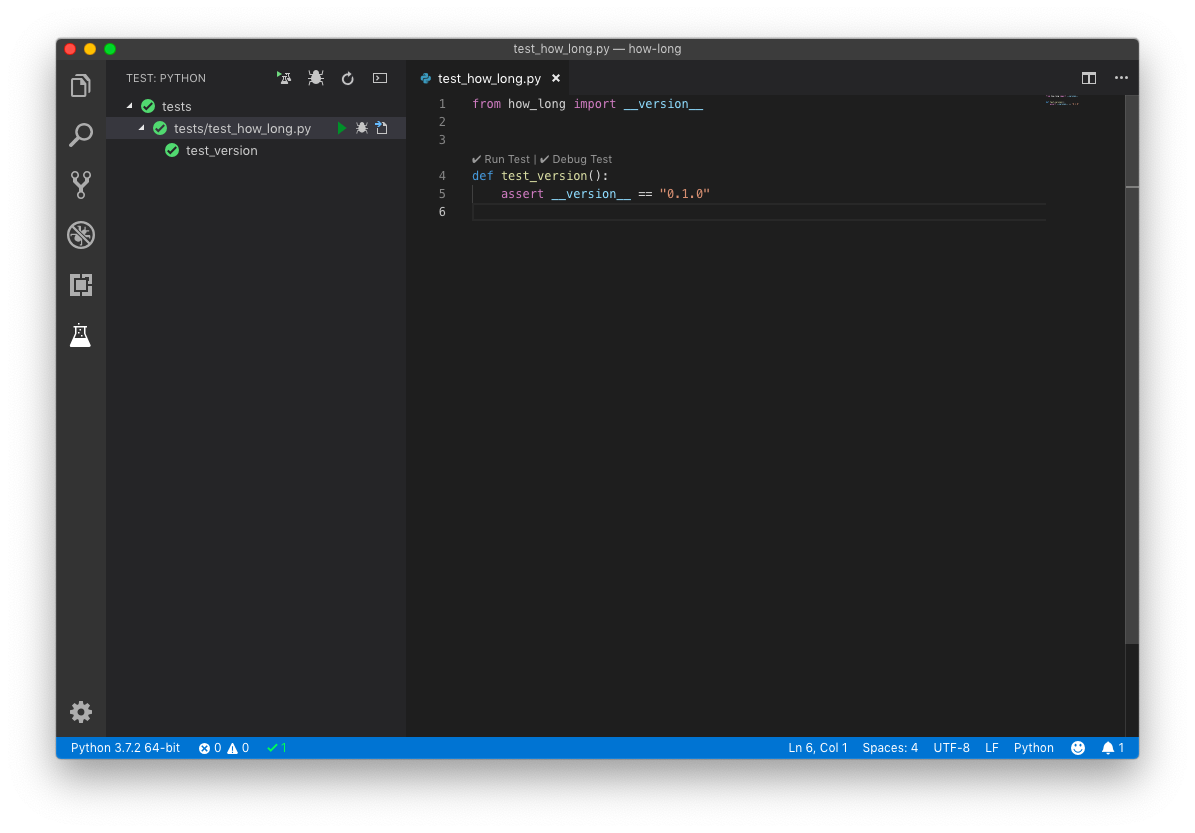
A new icon at the left bar. If you click on it, a panel displaying all the test will appear. Here, you can run each one individually:

Inside the test file, new options will be displayed before every test function: a check icon will appear if is ok, and an x otherwise. It also allows you to run specific tests:

Conclusion
So far, we have:
- Started a new project, created a Virtual Environment, and added, deleted and updated dependencies.
- Added our Virtual Environment to VSCode, Configured Flake8 to lint our code as we type, select Black as the formatter and included Pytest to run our tests visually.
Finally, in the third and last article, we will:
- Write a sample library.
- Build our project with Poetry.
- Publish it on PyPI.